|
制作水晶玫瑰
| 1.首先运行Photoshop软件,新建一个600x400像素72dpi的RGB图像。如图1所示。 |
|
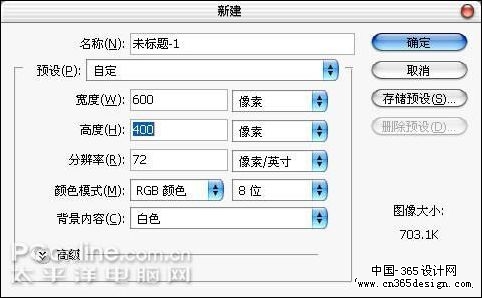
图1
|
| 2.使用自定义外形工具绘制出一个玫瑰花的路径。如图2所示。 |
|
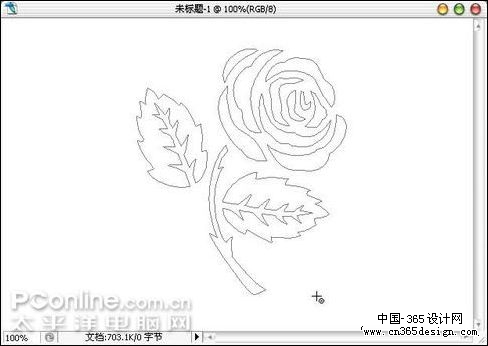
图2
|
| 3.按下Ctrl+Enter键将路径转化为选区。如图3所示。 |
|
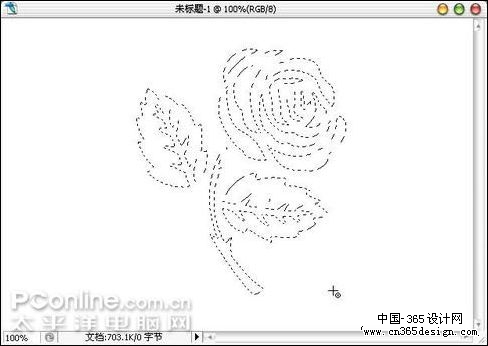
图3
|
| 4.新建图层,给选区填充颜色,这里的颜色无所谓,后面会进行更改的。如图4所示。 |
|
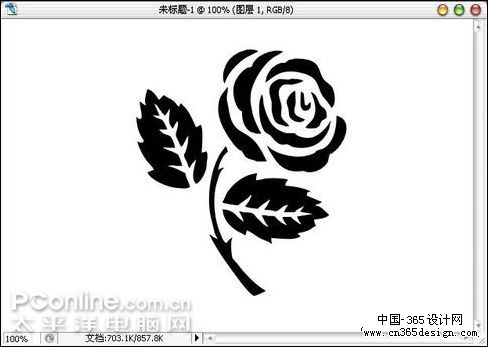
图4
|
|
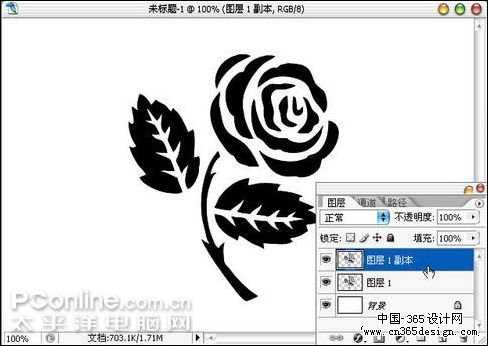
图5
|
| 6.给图层1副本添加投影图层样式,距离5像素,扩展0%,大小10像素,其它设置参见图片。如图6所示。
|
|
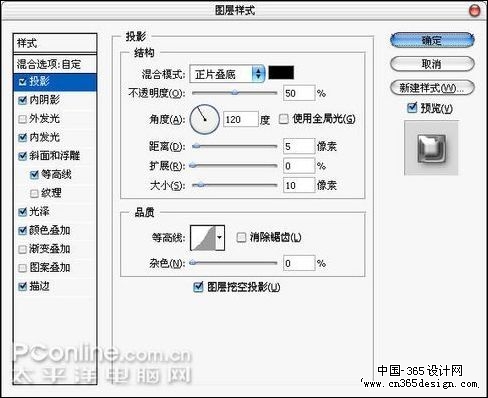
图6
|
| 7.给图层1副本添加内阴影图层样式,距离5像素,距离5像素,扩展0%,大小10像素,其它设置参见图片。如图7所示。
|
|
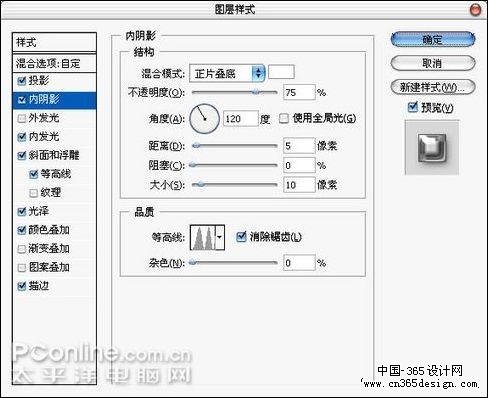
图7
|
| 8.给图层1副本添加内发光图层样式,选择白色,阻塞10%,大小为60像素,其它设置参见图片。如图8所示。 |
|
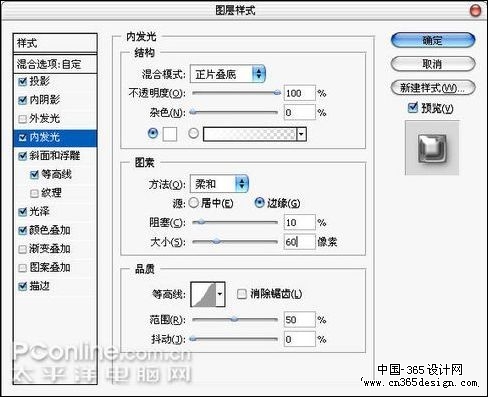
图8
|
| 9.给图层1副本添加斜面和浮雕图层样式,大小15像素,软化0像素,其它设置参见图片。如图9所示。 |
|
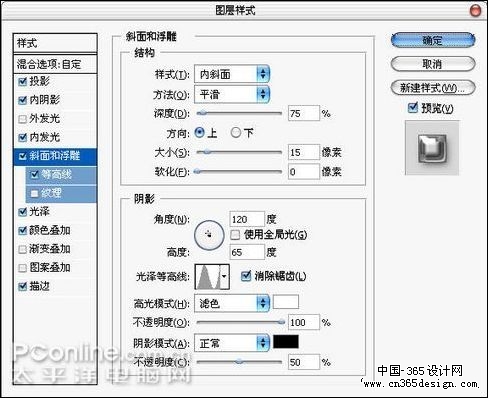
图9
|
| 10.给图层1副本添加等高线图层样式,范围20%。如图10所示。 |
|
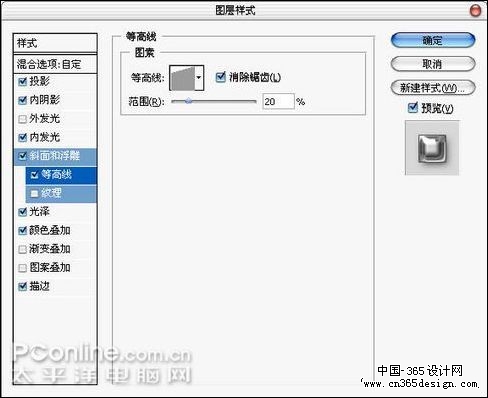
图10
|
| 11.给图层1副本添加光泽图层样式,距离7像素,大小10像素,其它设置参见图片。如图11所示。 |
|
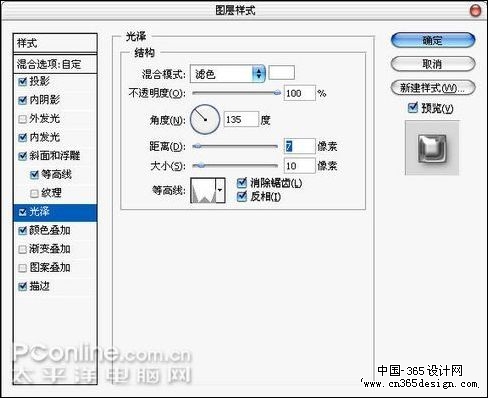
图11
|
| 12.给图层1副本添加颜色叠加图层样式,不透明度100%。如图12所示。 |
|
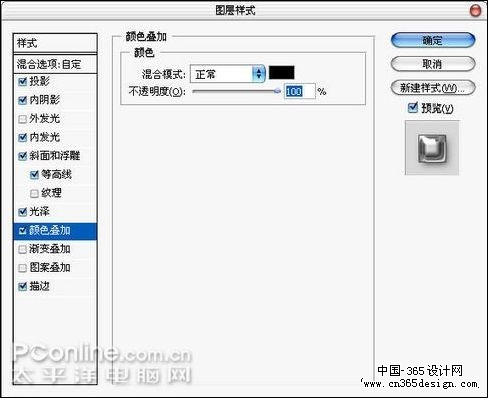
图12
|
| 13.给图层1副本添加描边图层样式,大小1像素。如图13所示。
|
|
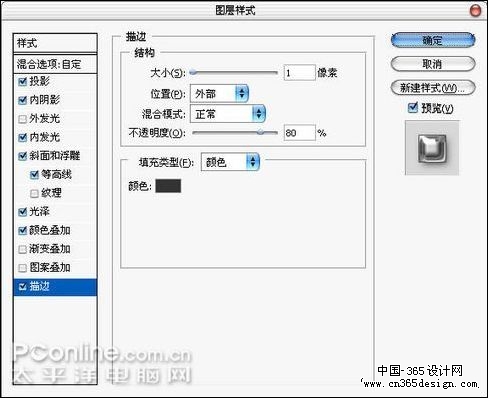
图13
|
| 14.将图层1和图层1副本两个图层合并为图层1。如图14所示。
|
|
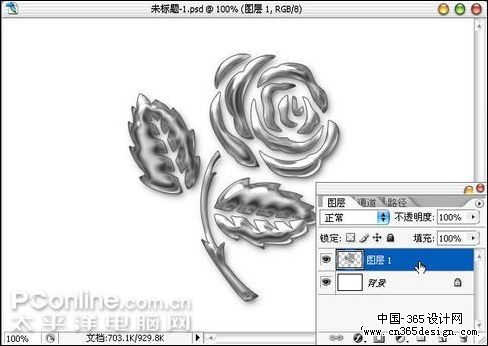
图14
|
| 15.使用套索工具选中玫瑰的花朵部分。如图15所示。 |
|
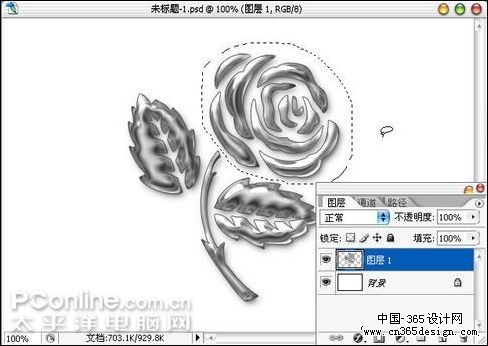
图15
|
| 16.按下Ctrl+U打开色相/饱和度调版,在着色项前打勾,将色相、饱和度、明度分别设置为360、65、-15,单击确定应用。如图16所示。
|
|
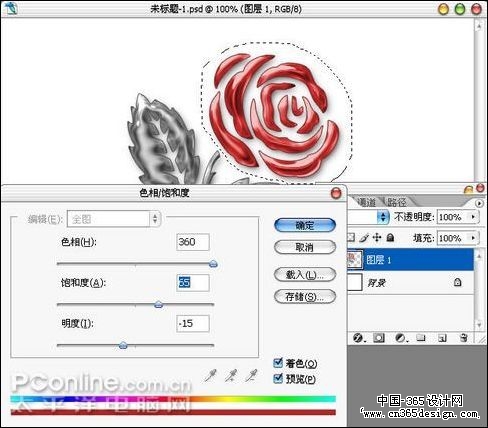
图16
|
| 17.继承使用套索工具选取玫瑰花的叶子部分。如图17所示。 |
|
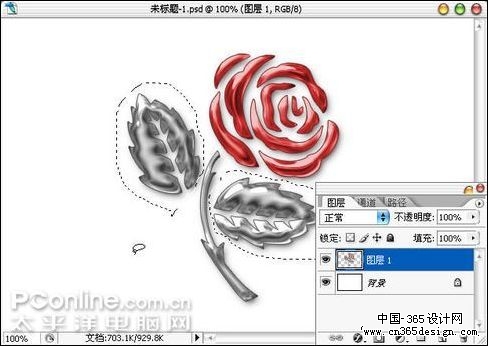
图17
|
| 18.按下Ctrl+U打开色相/饱和度调版,在着色项前打勾,将色相、饱和度、明度分别设置为130、65、-20,单击确定应用。如图18所示。 |
|

图18
|
|
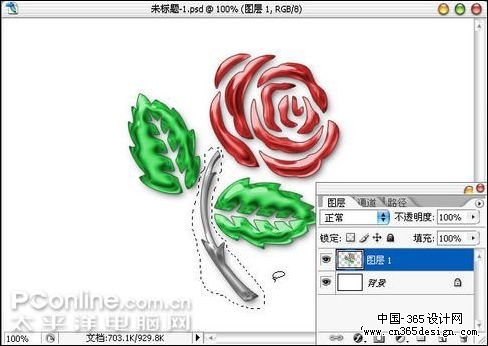
图19
|
| 20.按下Ctrl+U打开色相/饱和度调版,在着色项前打勾,将色相、饱和度、明度分别设置为30、50、-50,单击确定应用。如图20所示。 |
|
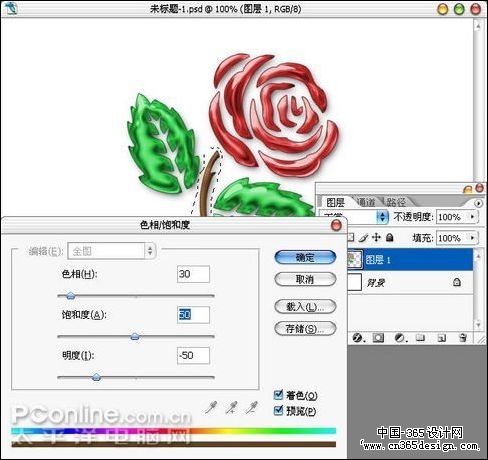
图20
|
| 21.选择背景图层进行操作,从上到下拉一条深灰-浅灰的渐变。如图21所示。
|
|
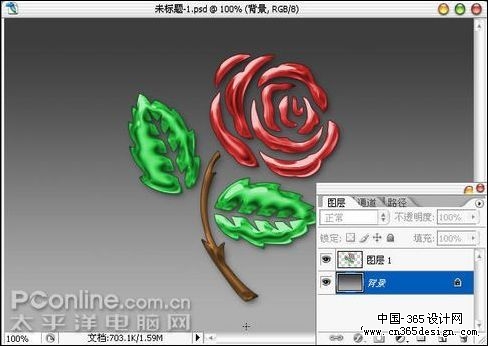
图21
|
| 22.执行滤镜/杂色/添加杂色,将数量设置为10%,高斯分布,单色,单击确定应用。如图22所示。
|
|
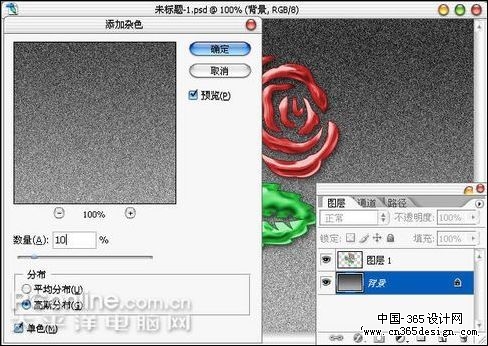
图22
|
| 23.执行滤镜/模糊/动感模糊,角度设置为90度,距离为30像素,单击确定应用。如图23所示。 |
|

图23
|
| 24.OK,大功告成了,一朵永不凋零的玫瑰就制作完成了,是不是很简朴呢?希望大家喜欢。如图24所示。 |
|
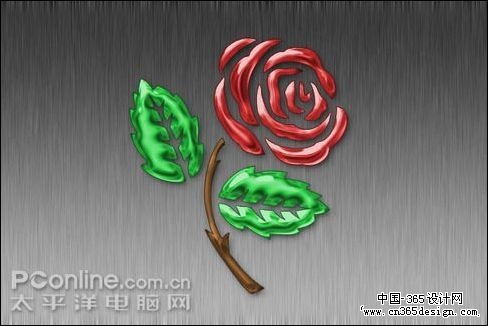
图24
|
返回类别: Photoshop教程
上一教程: Photoshop制作美丽的彩色气泡效果
下一教程: Photoshop图片合成教程:人物照片制作成金属雕像
您可以阅读与"制作水晶玫瑰"相关的教程:
· PS制作水晶字
· PS制作水晶苹果壁纸教程
· PS制作水晶长形按钮
· PS制作水晶脚印壁纸
· Photoshop制作水晶特别效果字
|


